Hello everybody, it’s me again, Dan, welcome to my recipe page. Today, we’re going to prepare a special dish, homemade kimchi in switzerland!. It is one of my favorites. This time, I’m gonna make it a bit unique. This will be really delicious.
Homemade Kimchi in Switzerland! is one of the most popular of recent trending foods in the world. It’s enjoyed by millions every day. It is easy, it’s quick, it tastes yummy. Homemade Kimchi in Switzerland! is something that I have loved my entire life. They are fine and they look fantastic.
I wanted to eat kimchi but the one they sell at supermarket is like sauerkraut! So I decided to make kimchi by myself with accessible ingredients! Leave bottled kimchi in room temperature for a night.
To begin with this particular recipe, we must prepare a few components. You can have homemade kimchi in switzerland! using 18 ingredients and 31 steps. Here is how you can achieve that.
The ingredients needed to make Homemade Kimchi in Switzerland!:
- Prepare 6 kg Napa cabbage/ Chinese cabbage
- Get 1/2 cup salt (recommend sea salt)
- Take <Kimchi glue >
- Take 15 x 15 cm Dried kombu
- Prepare 2.5 tbs rice flour / starch
- Take 350 ml water
- Take <Yangnyeom / Kimchi paste>
- Prepare 3 cup red chili pepper flakes
- Make ready 1 can anchovis
- Get 4 tbs fish sauce
- Take 3 tbs sugar
- Take 1 piece / 1.5 cup apple / apple sauce
- Make ready 8 cloves garlic
- Make ready 3 tbs grounded ginge
- Prepare 1/2 daikon radish
- Make ready 1/2 carrot
- Prepare 3 packet chives / wild garlic
- Make ready 3 tbs sesame oil / toasted sesame
Add all ingredients except for the radish and scallions. The kimchi will start fermenting a day at room temperature. Once it starts to ferment, store in the refrigerator to use as needed. Homemade Kimchi: This summer, we found ourselves with an abundance of cabbage from our vegetable garden.
Instructions to make Homemade Kimchi in Switzerland!:
- Ready the cabbage night before.
- Using knife to make cross cut on the bottom of the cabbage.
- Tear them apart into quarter. Repeat the process.
- Cut the bottom stem.
- Chop them into little bigger than bite size.
- Put cabbage into big case or in my case cleaned sink. Sprinkle salt and give cabbage a masssage.
- Put all cabbage into a drain bowl or case to drain all the excess water from cabbage. Make sure you put something heavy on top to help drain over night.
- Cabbage : next day (most of the water was drained)
- Wash the cabbage throughly and squeeze. Leave the cabbage and help dry naturally.
- Prepare the kimchi glue. Put dried kombu into the water minimum 30 minutes to get bigger and softened.
- Once kombu is bigger and softened, put all into a pot and start heating with low heat. Stop the heat once it’s started to bubble. (I did too much)
- Mix rice flour or starch with water (not in the ingredients list).
- Pour the mix into the pot.
- Turn on the heat (low) and mix continuously until it becomes glue texture. Leave it aside.
- Start making kimchi paste.
- Chop daikon radish, carrot and chives/wild garlic into 10cm long stick.
- Sprinkle the salt (not in the ingredients list) and give it a massage. Leave them for minimum 30 mins to 1 hour to excess water.
- Grind ginger and chop the garlics.
- Add apple sauce. If you are using fresh whole apple, put ginger, garlic and apple into blender and make paste.
- Chop anchovies and add to the bowl.
- Add fish sauce, sesame oil / toasted sesame, and sugar.
- Mix all well.
- Prepare chili flakes. Pour chili flakes into the paste. (in my case it my bowl was too small so I sprinkle the rest of chili into veggies)
- Paste with chili, veggies with chili, and glue.
- Mix them all well. This is the yangnyoem aka kimchi paste.
- Mix the cabbage and yangnyeom.
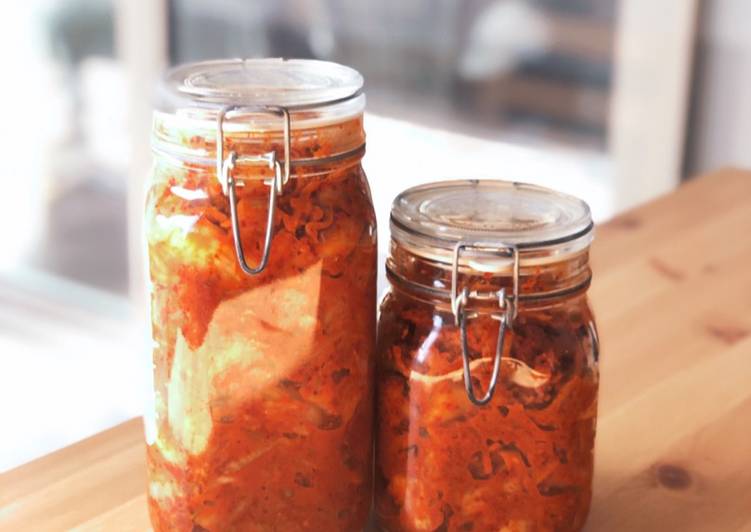
- Start putting them in a jar.
- If you got left over yangnyoem, do not throw. Please keep in another jar or ziplock bag. You can use this yangnyoem to pickle other ingredients!
- Leave bottled kimchi in room temperature for a night. This will help kimchi fermentation.
- You can store them in a fridge. Also can enjoy after 2-3 days. Best starts after a week.
- Make sure you will open the jar everyday to let gas go. I usually open every morning and mix inside to let go the gasses.
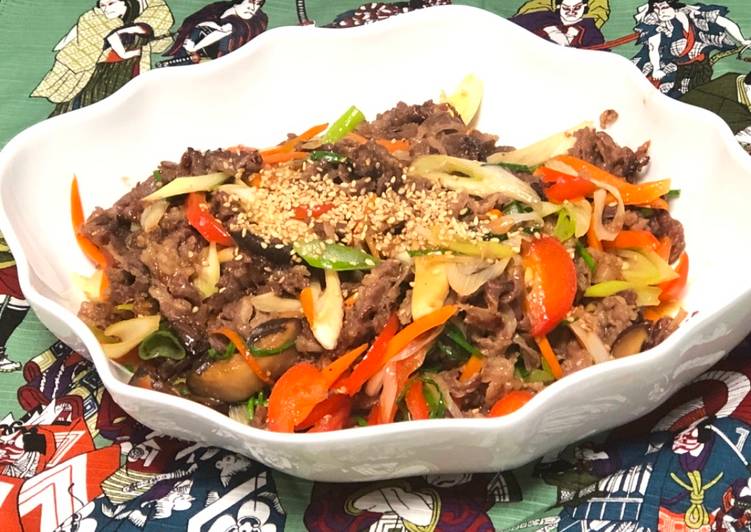
We wanted to preserve it in a way that would allow us to enjoy it once the harvest season had passed. This kimchi recipe was born from that desire. Once you have kimchi on hand, serve this healthy dish along with any meal, as an ingredient in stir-fries, stews, savory pancakes and more, or as a condiment to liven up grain bowls, tacos View image. Homemade Kimchi. this link is to an external site that may or may not meet accessibility guidelines. A simple, flexible formula for easy homemade kimchi!
So that’s going to wrap this up with this exceptional food homemade kimchi in switzerland! recipe. Thank you very much for your time. I’m sure you will make this at home. There’s gonna be interesting food in home recipes coming up. Remember to bookmark this page in your browser, and share it to your family, colleague and friends. Thank you for reading. Go on get cooking!